Now is the time to build our metal detector!
Step 1
(You can skil this step if you have already buyed a coil)
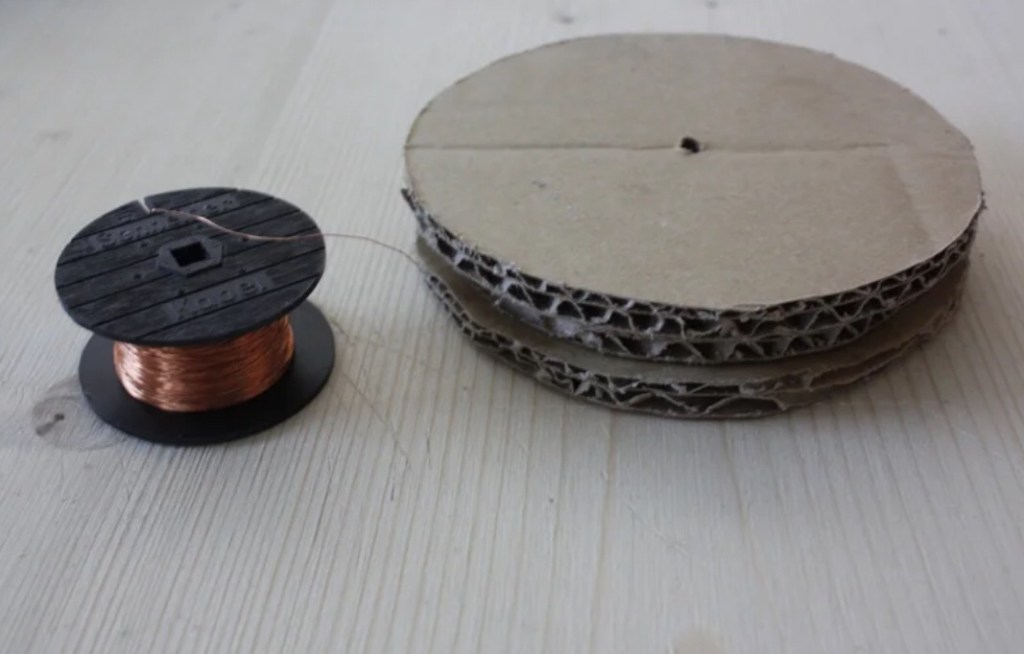
You need to build up the bottom of the metal detector part which is the part of the coil, and the most difficult part to build. You will first need to cut 2 cardboard circles and stick them together through using the pliers to make the holes in the middle, to create the coil. After, you would need to turn the copper around it as many times as you need. You could also buy a coil if you wish si this part isn’t as complicated.
Step 2
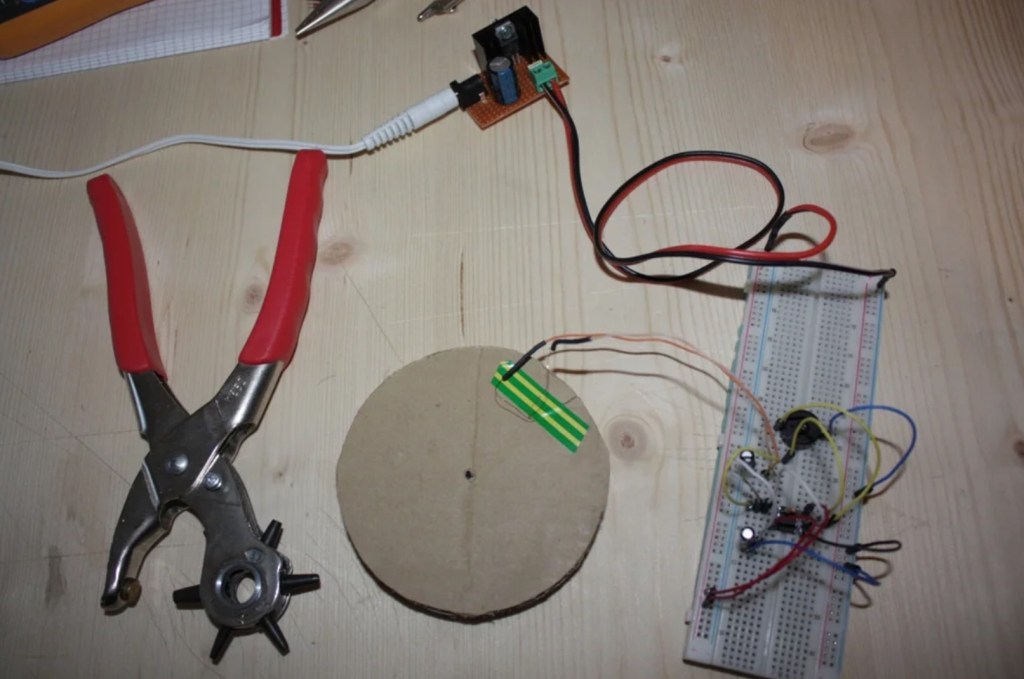
You need to built up the circuit using the breadboard you’ve bught, and the wires, and connect it to the coil, as is shown in the picture. Next, you will test if it’s working alright, and if you are having problems and you are a minor, is better if you get an adult’s help.
Step 3
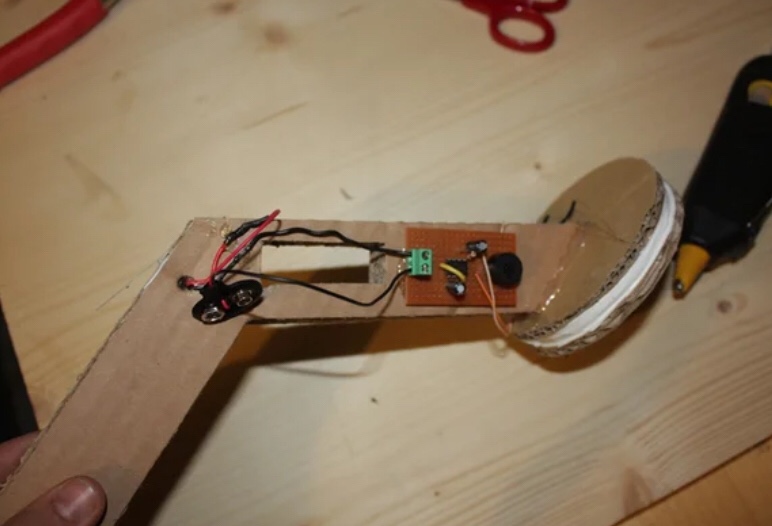
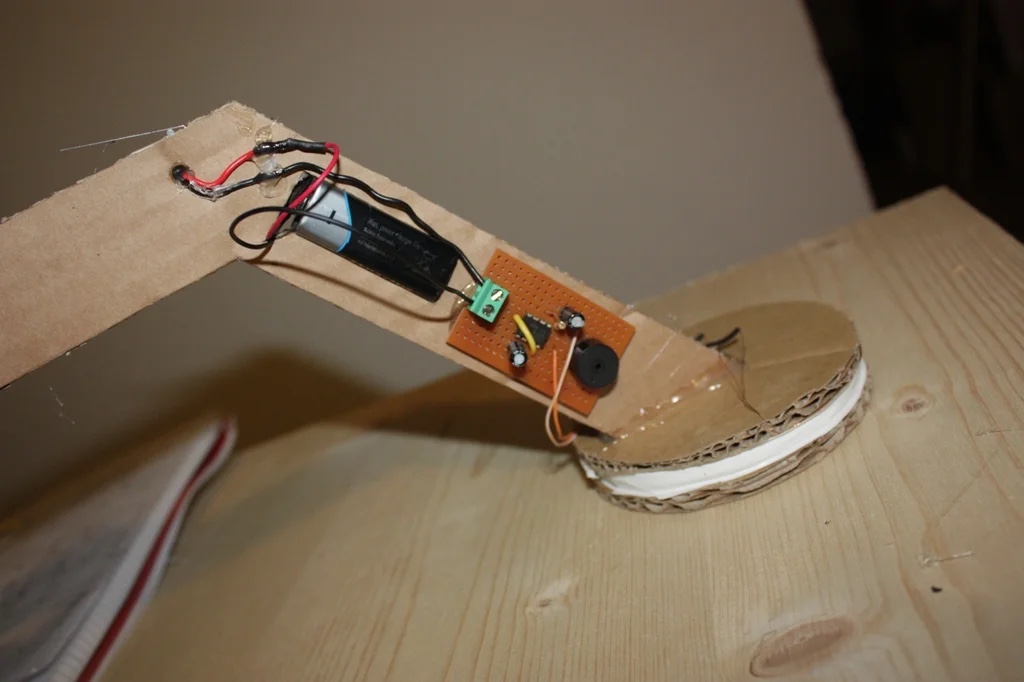
Last, you will need to cut some cardboard pieces to create the structure of the metal detector, and put it all together. If you are a minor, get an adult’s help to stick everything together with yhe hot glue. Make sure to glue the circuit you’ve created on the cardboard you are going to attach to the coil, and then stick the battery making a whole just on top of the piece of cardboard that is above the circuit.
